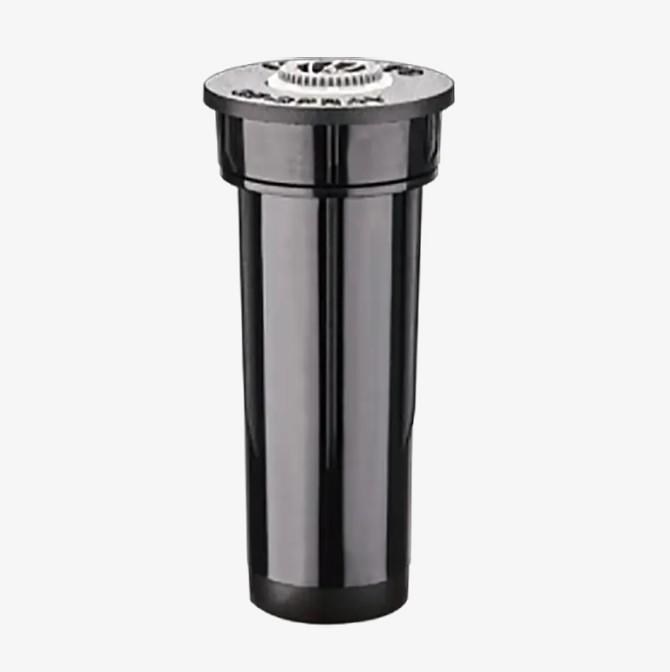
The installation of pop-up sprinklers requires careful planning, precise execution, and adherence to specific guidelines to ensure optimal performance and efficiency. Pop-up sprinklers are a popular choice for residential and commercial irrigation systems due to their ability to deliver water uniformly and discreetly while retracting below ground when not in use, minimizing damage and obstruction. The installation process involves several key steps to ensure proper functionality and longevity of the system.
First and foremost, a thorough design and planning phase is essential before beginning the installation. This phase involves assessing the irrigation needs of the area to be covered, determining the water requirements of the plants or turf, and creating a detailed layout for the sprinkler system. Factors such as the size and shape of the area, the water pressure available, and the type of soil will influence the design decisions. It's crucial to plan the spacing and placement of sprinkler heads to achieve uniform coverage and avoid over- or under-watering.
Once the design phase is complete, the installation process can begin. Excavation is typically the first step, where trenches are dug to accommodate the irrigation pipes. The depth and width of the trenches will depend on the size of the pipes and the depth at which the sprinkler heads will be installed. Care must be taken to ensure proper slope and alignment of the trenches to facilitate drainage and prevent waterlogging.
Next, the PVC pipes are laid out according to the planned layout, and fittings are used to connect them as per the manufacturer's instructions. It's essential to use the correct size and type of pipes and fittings to ensure a secure and leak-free connection. Once the pipes are in place, the sprinkler heads can be installed. Holes are dug at the predetermined locations, and the sprinkler heads are positioned at the correct depth, ensuring that they will be level with the ground when retracted. Risers or swing joints may be used to adjust the height of the sprinkler heads as needed.
After the sprinkler heads are installed, the system is connected to the main water supply line. Backflow prevention devices are typically required by local building codes to prevent contamination of the water supply and should be installed as necessary. An irrigation controller is then installed in a weatherproof location, such as a garage or outdoor enclosure, and connected to the valves. The controller is programmed with the desired watering schedule, taking into account factors such as the type of plants, soil moisture levels, and weather conditions.
Once the installation is complete, the system should be thoroughly tested to ensure proper operation. Each sprinkler head is checked for uniform coverage, and adjustments are made to the direction, angle, and flow rate as needed. The controller programming is also verified to ensure that the system is watering at the appropriate times and durations. Any leaks or issues are addressed promptly to prevent water waste and damage to the system.
Finally, the trenches are backfilled, and any disturbed landscaping or turf areas are restored to their original condition. Regular maintenance and inspection of the system are essential to ensure continued performance and longevity. This includes checking for leaks, cleaning or replacing clogged nozzles, adjusting sprinkler heads, and updating the controller programming as needed.